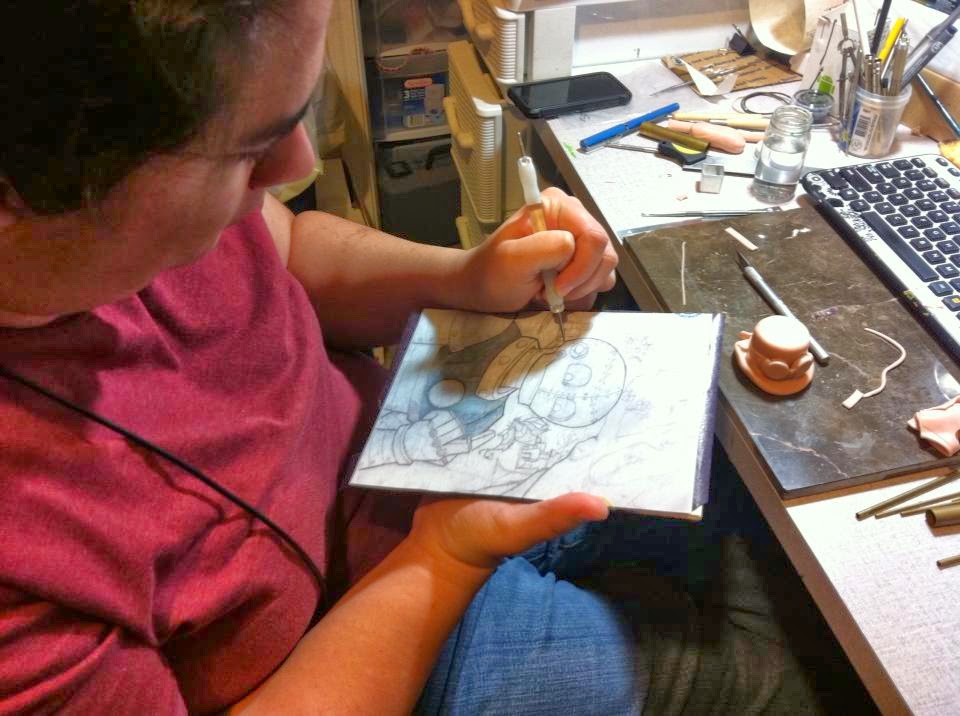
This technique is also helpful when you have traveled from home or don't have a nifty light box for tracing.
Materials needed
- Image you want to transfer
- Carbon Paper - find at craft or office supply stores; the sheets are reusable and 1 package can last for many years
- Drafting dots or tape specific to painting - for easy removal
- Embossing pen tool
- Eraser
- Pens (if inking)
 |
| Tracing with embossing tool (top), close-up detail (middle),transferred image (bottom). |
- Take your drawn image and make a photocopy of it. This way you can change size easily and position it on the desired paper easier.
- Place a sheet of carbon paper darker side down and set it aside, but not on your target area yet. Carbon paper is also available in white which is useful if you are transferring to a black or simply darker target.
- Trim the excess paper from around the copy of the image.
- Using the drafting dots take the copy of your drawing to the carbon paper. Remember the dark (inked) side should be lying on the work surface.
- Now position the carbon paper gently onto your chosen medium. Gently place tape to at least two corners so that it is secure.
*Do not rub or press too hard on the image as this will transfer*
- Without pressing too hard trace your image with the embossing pen tool. It is best to plan where you are to start and what path you will take. This way you can be sure to transfer the whole drawing. You can lift the paper to also see progress as you go, but try not to do so too often because you could accidentally move the image the image. When done remove the carbon paper. If inking by hand go ahead and do so using the eraser to get rid of transfer lines. I use a gum eraser for my work. It doesn't leave smears or residue. They also work better at taking up lines.
*If you press too hard during the tracing they will NOT erase - be GENTLE*
- At this point if you want the final artwork to be painted - just paint.
Although there are many different transfer methods, this is one that I have been adept with since my days in architecture classes. This is easy, fast, without needing much space or set-up ahead of time and it can be done anywhere. I like to share information about tools and materials I use.
I hope you have enjoyed this tutorial and if you have any questions feel free to ask!
All images © Tanya Davis


.png)


0 comments: